Gel nails at home: how to do your first set, step by step
Gel nails at home, in order: what to buy, ten minutes of prep, thin coats, curing, how long gel lasts, and a removal that keeps your nails healthy.
Part of our guide: Gel nails at home
The short answer
To do gel nails at home you need four things: a lamp your gel is made to cure under, a base coat, a top coat and one color. Add a fine file, a soft buffer, a cuticle pusher, lint-free wipes, isopropyl alcohol, pure acetone, cotton pads, foil and cuticle oil. Ten minutes of prep decides how long the set lasts: start with dry nails, push the cuticles back, buff off the shine and finish with an alcohol wipe. Then follow three rules. Gap: leave a paper-thin line of bare nail between gel and skin, because skin moves and gel does not. Cap: run the brush along the front edge on every coat. Thin: two thin color coats beat one thick one. Cure four fingers, then the other four, then both thumbs together. Keep uncured gel off your skin, protect your hands from the lamp, and soak gel off rather than peeling it.
A gel manicure you did yourself can last as long as a salon one. What decides it is not talent or an expensive kit; it is doing a handful of unglamorous steps in the right order. This is the whole first set, from what to buy to how to take it off, written so you can follow it at the kitchen table with the lamp plugged in.
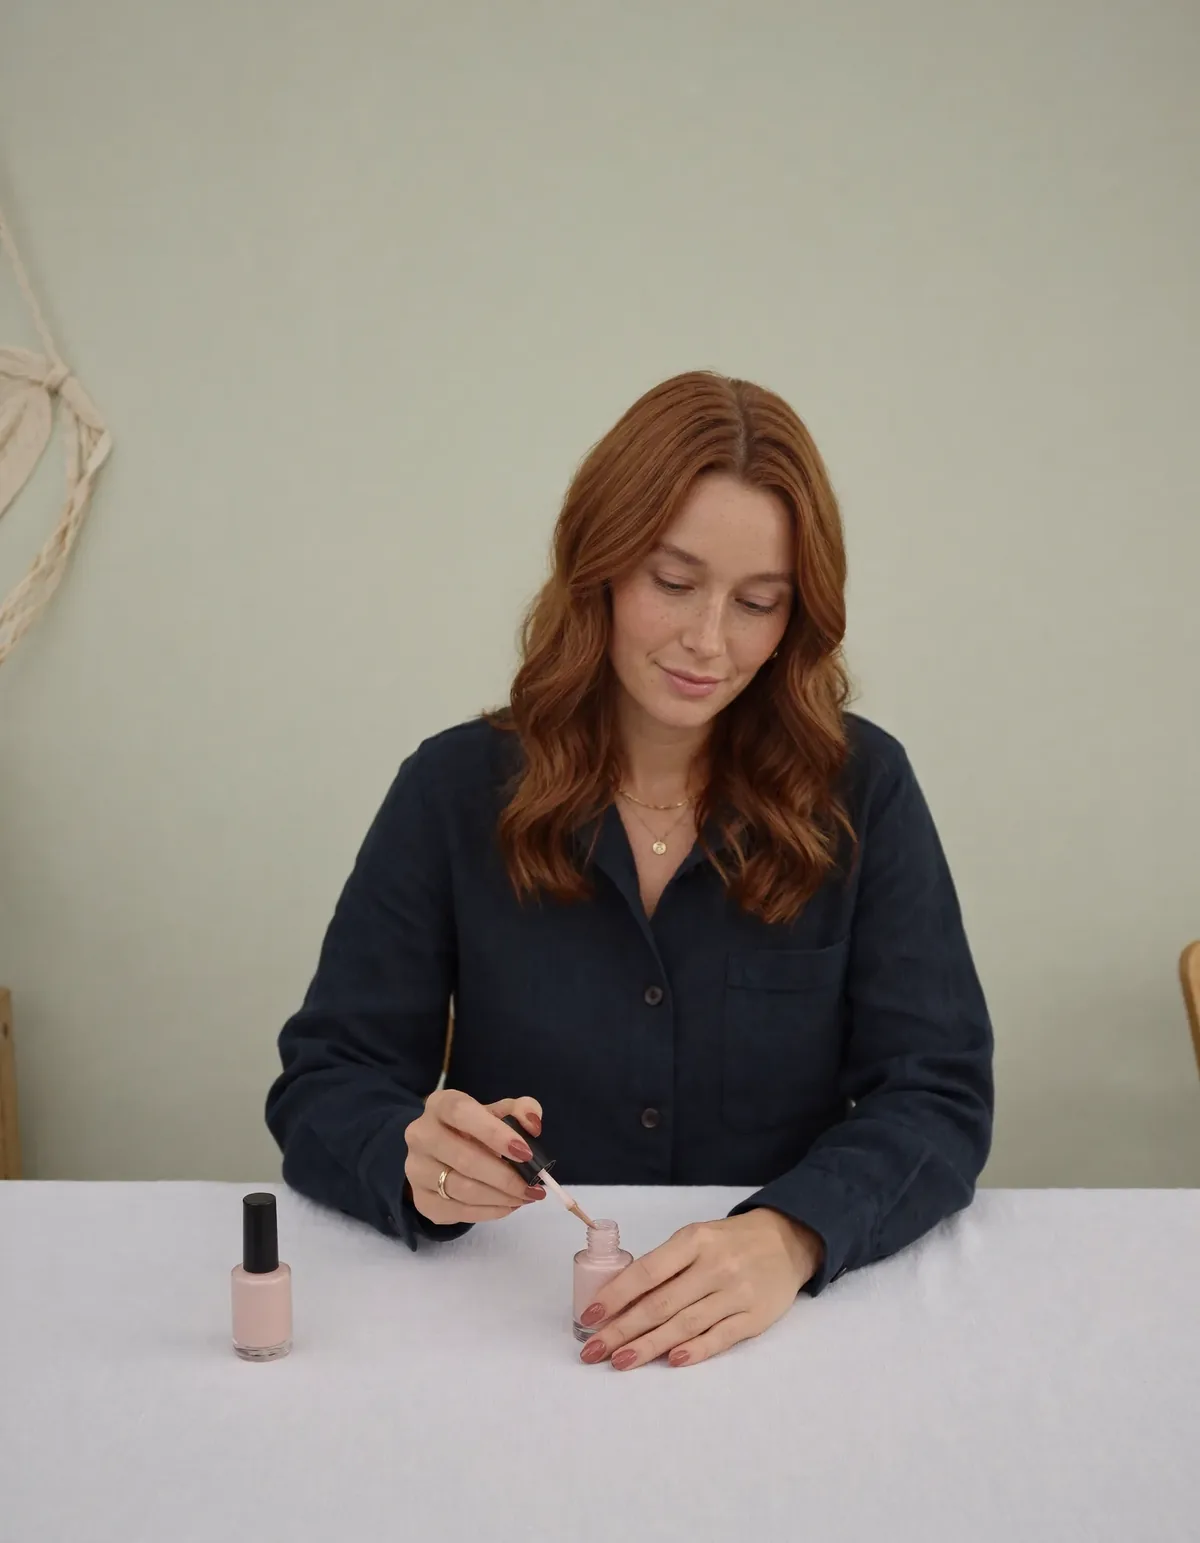
Noor, SOUL’s beauty host, is the face in the photographs on this page. The routine itself is built on dermatology guidance and the gel makers’ own instructions.
What do you need to do gel nails at home?
Starter kits come with twenty shades and a bag of rhinestones. You need four things to begin: a lamp your gel is made to cure under, a base coat, a top coat and one color you will actually wear. From the pharmacy, add a fine file and a soft buffer, a cuticle pusher, lint-free wipes, isopropyl alcohol, pure acetone for removal, cotton pads and foil, and a cuticle oil. If you are choosing a first system, our guide to the best gel polish for beginners covers what to look for.
Prep: ten minutes that decide the next two weeks
- Wash and dry thoroughly, with old polish removed. Water trapped in the nail makes it swell slightly; paint over that and the gel lifts as it dries back down.
- Push the cuticles back gently, then lift only the thin dead film on the nail plate. Leave the living skin alone.
- File in one direction. Sawing back and forth frays the edge where peeling starts.
- Buff just the shine off. You are removing gloss, not thickness.
- Wipe every nail with alcohol on a lint-free pad, then keep your fingers off your face and hair.
How do you apply gel polish so it doesn't lift?
Three rules do most of the work. Gap: leave a paper-thin line of bare nail between the gel and the skin all the way around, because skin moves and gel does not. Cap: run the brush along the front edge of the nail on every coat to seal it. Thin: two thin color coats always beat one thick one, because thick gel cures on top and stays soft underneath.
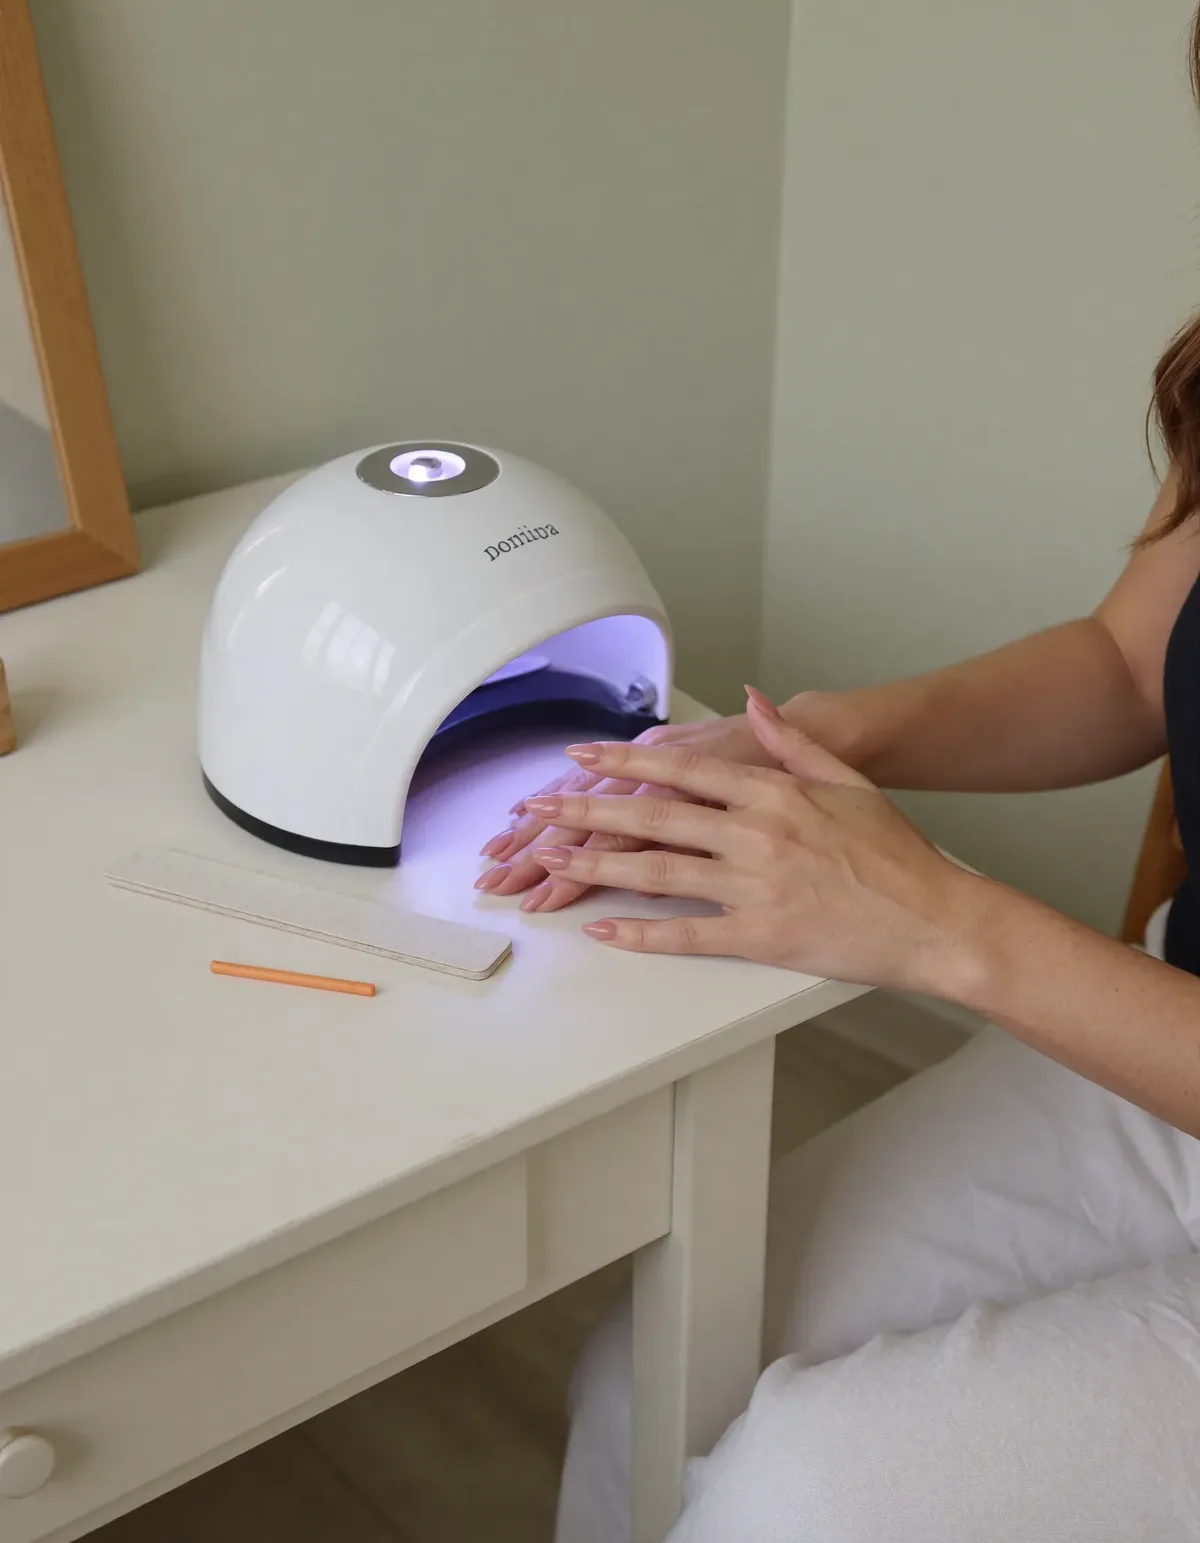
Work in this order for every coat: four fingers of one hand, cure; four fingers of the other hand, cure; both thumbs together, cure. A thumb lies at an angle next to the fingers and cures unevenly if you do it with them.
| When | What you are doing |
|---|---|
| 0–10 min | Wash, dry, push cuticles back, shape, buff, alcohol wipe |
| 10–20 min | Base coat: four fingers, cure; four fingers, cure; thumbs, cure |
| 20–35 min | First color coat, same order. It will look streaky; that is right |
| 35–50 min | Second color coat, same order. Now it evens out |
| 50–60 min | Top coat, cure, wipe if tacky, then cuticle oil |
It gets faster with every set. The first one is allowed to take the whole hour.
How long should you cure each coat of gel?
Use the cure time your gel’s maker gives, with the lamp it is designed for — many modern gels cure in 30 to 60 seconds under a matched LED lamp. Hands flat, every nail inside the light. If you feel a sudden burst of heat, slide the hand out for ten seconds and put it back; next time, use a thinner coat. Our guide to LED and UV nail lamps explains wattage and cure times in more detail.
Finish, and the first evening
A “wipe” top coat feels tacky after curing: that film is normal, and you remove it with alcohol on a lint-free pad. A “no-wipe” top coat should come out glossy and dry. Finish with cuticle oil, and repeat the oil every evening until removal day. Wear gloves for washing up and cleaning; water and detergents are the quiet enemies of a gel set.
Two safety habits worth keeping
Keep uncured gel off your skin. Gel polishes contain (meth)acrylates, and repeated skin contact can cause a lasting allergy; the British Association of Dermatologists has warned about rising cases and about the particular risk of at-home kits. If you notice itching, redness or swelling around the nails, stop and see a doctor.
Protect the backs of your hands from the lamp. The American Academy of Dermatology suggests a broad-spectrum SPF 30+ on your hands before a gel manicure; fingerless gloves are a simple alternative.
Taking it off
Never peel gel off: it takes the top layers of your nail with it. File the shine off the top coat, wrap each nail in an acetone-soaked pad and foil, wait ten to fifteen minutes, and push the softened gel off gently with a wooden stick. Our full guide to removing gel without damage covers the details.
If you would like this whole routine next to the lamp, our At-Home Gel Edit has it as a printable card, plus the Gel Studio timer that tells you which hand goes in next and counts every cure.
How long do gel nails last?
A well-prepped set of gel nails usually lasts about two to three weeks before growth at the cuticle or small lifts at the edges show. They last longer than regular polish because gel is cured hard under a UV or LED lamp instead of air-drying, so it does not chip as easily. What shortens wear is almost always prep: oil left on the nail plate, coats that are too thick, or gel touching the skin. When it is time, soak it off properly rather than peeling; our guide to removing gel nails without damage walks through it, and why gel nails lift explains the most common early failures.
Sources: American Academy of Dermatology: removing gel polish
Read next: Curly Hair Care: A Simple Routine That Stops Frizz · Why Do My Gel Nails Lift? Causes and Fixes · The complete guide: Gel nails at home
Questions people ask about this
How do you do gel nails at home for beginners?
Prep carefully (wash, dry, push cuticles, buff the shine off, alcohol wipe), then apply thin coats of base, color and top, leaving a gap at the skin and capping the free edge. Cure each coat for your gel's stated time: four fingers, four fingers, then both thumbs.
What do I need to do gel nails at home?
A lamp your gel is designed for, a base coat, a top coat and one color, plus a file, buffer, cuticle pusher, lint-free wipes, isopropyl alcohol, acetone, foil and cuticle oil.
How long does a first gel manicure take at home?
About an hour the first time, including prep and four rounds of curing. It gets noticeably faster with practice.
Why cure thumbs separately?
A thumb sits at an angle next to the fingers and does not lie flat in the lamp, so it cures unevenly. Curing both thumbs together takes one extra round and prevents soft spots.
How long do at-home gel nails last?
Typically ten to fourteen days before regrowth shows, if the prep, thin coats and curing are right. Fast nail growth and picking shorten it.